Overview of All-on-4 Treatment
All-on-4 is a full-arch solution that uses four strategically placed dental implants to support a fixed set of teeth. It’s designed for people with many missing or failing teeth, or for denture wearers seeking a more stable, non-removable option. By angling implants to use available bone efficiently, the approach can reduce the need for grafting and provide a predictable path to a comfortable, natural-looking smile.
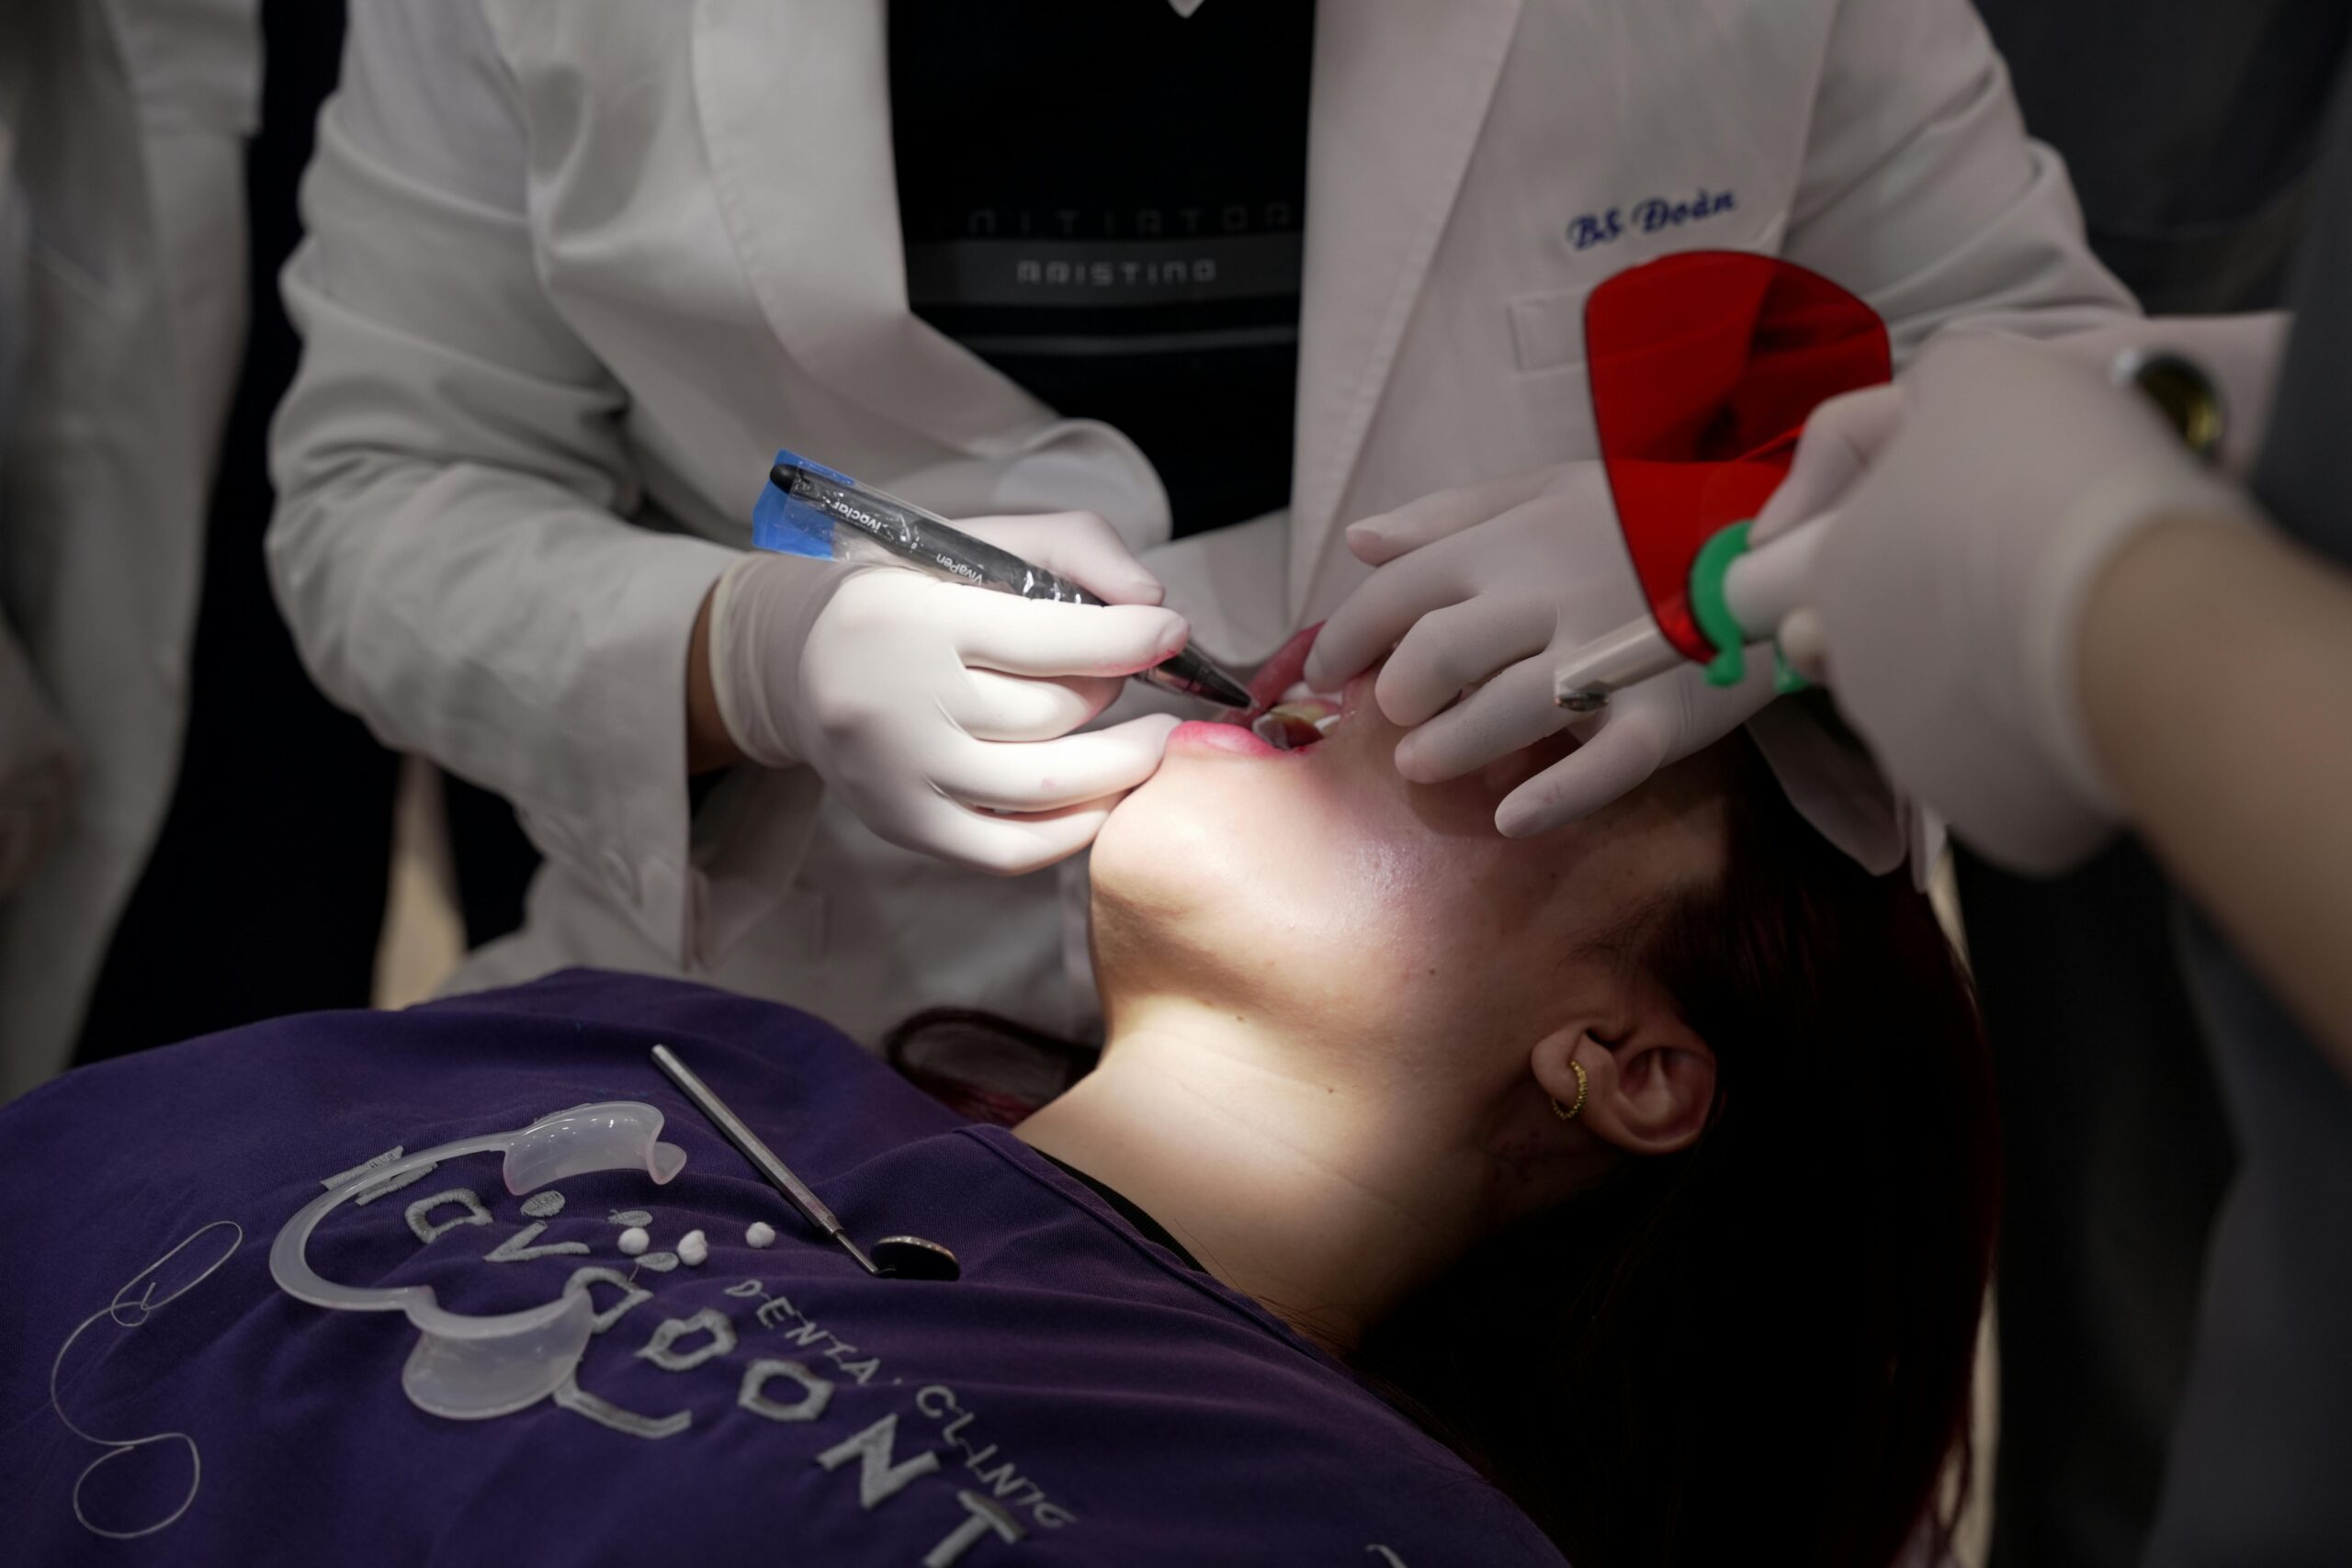
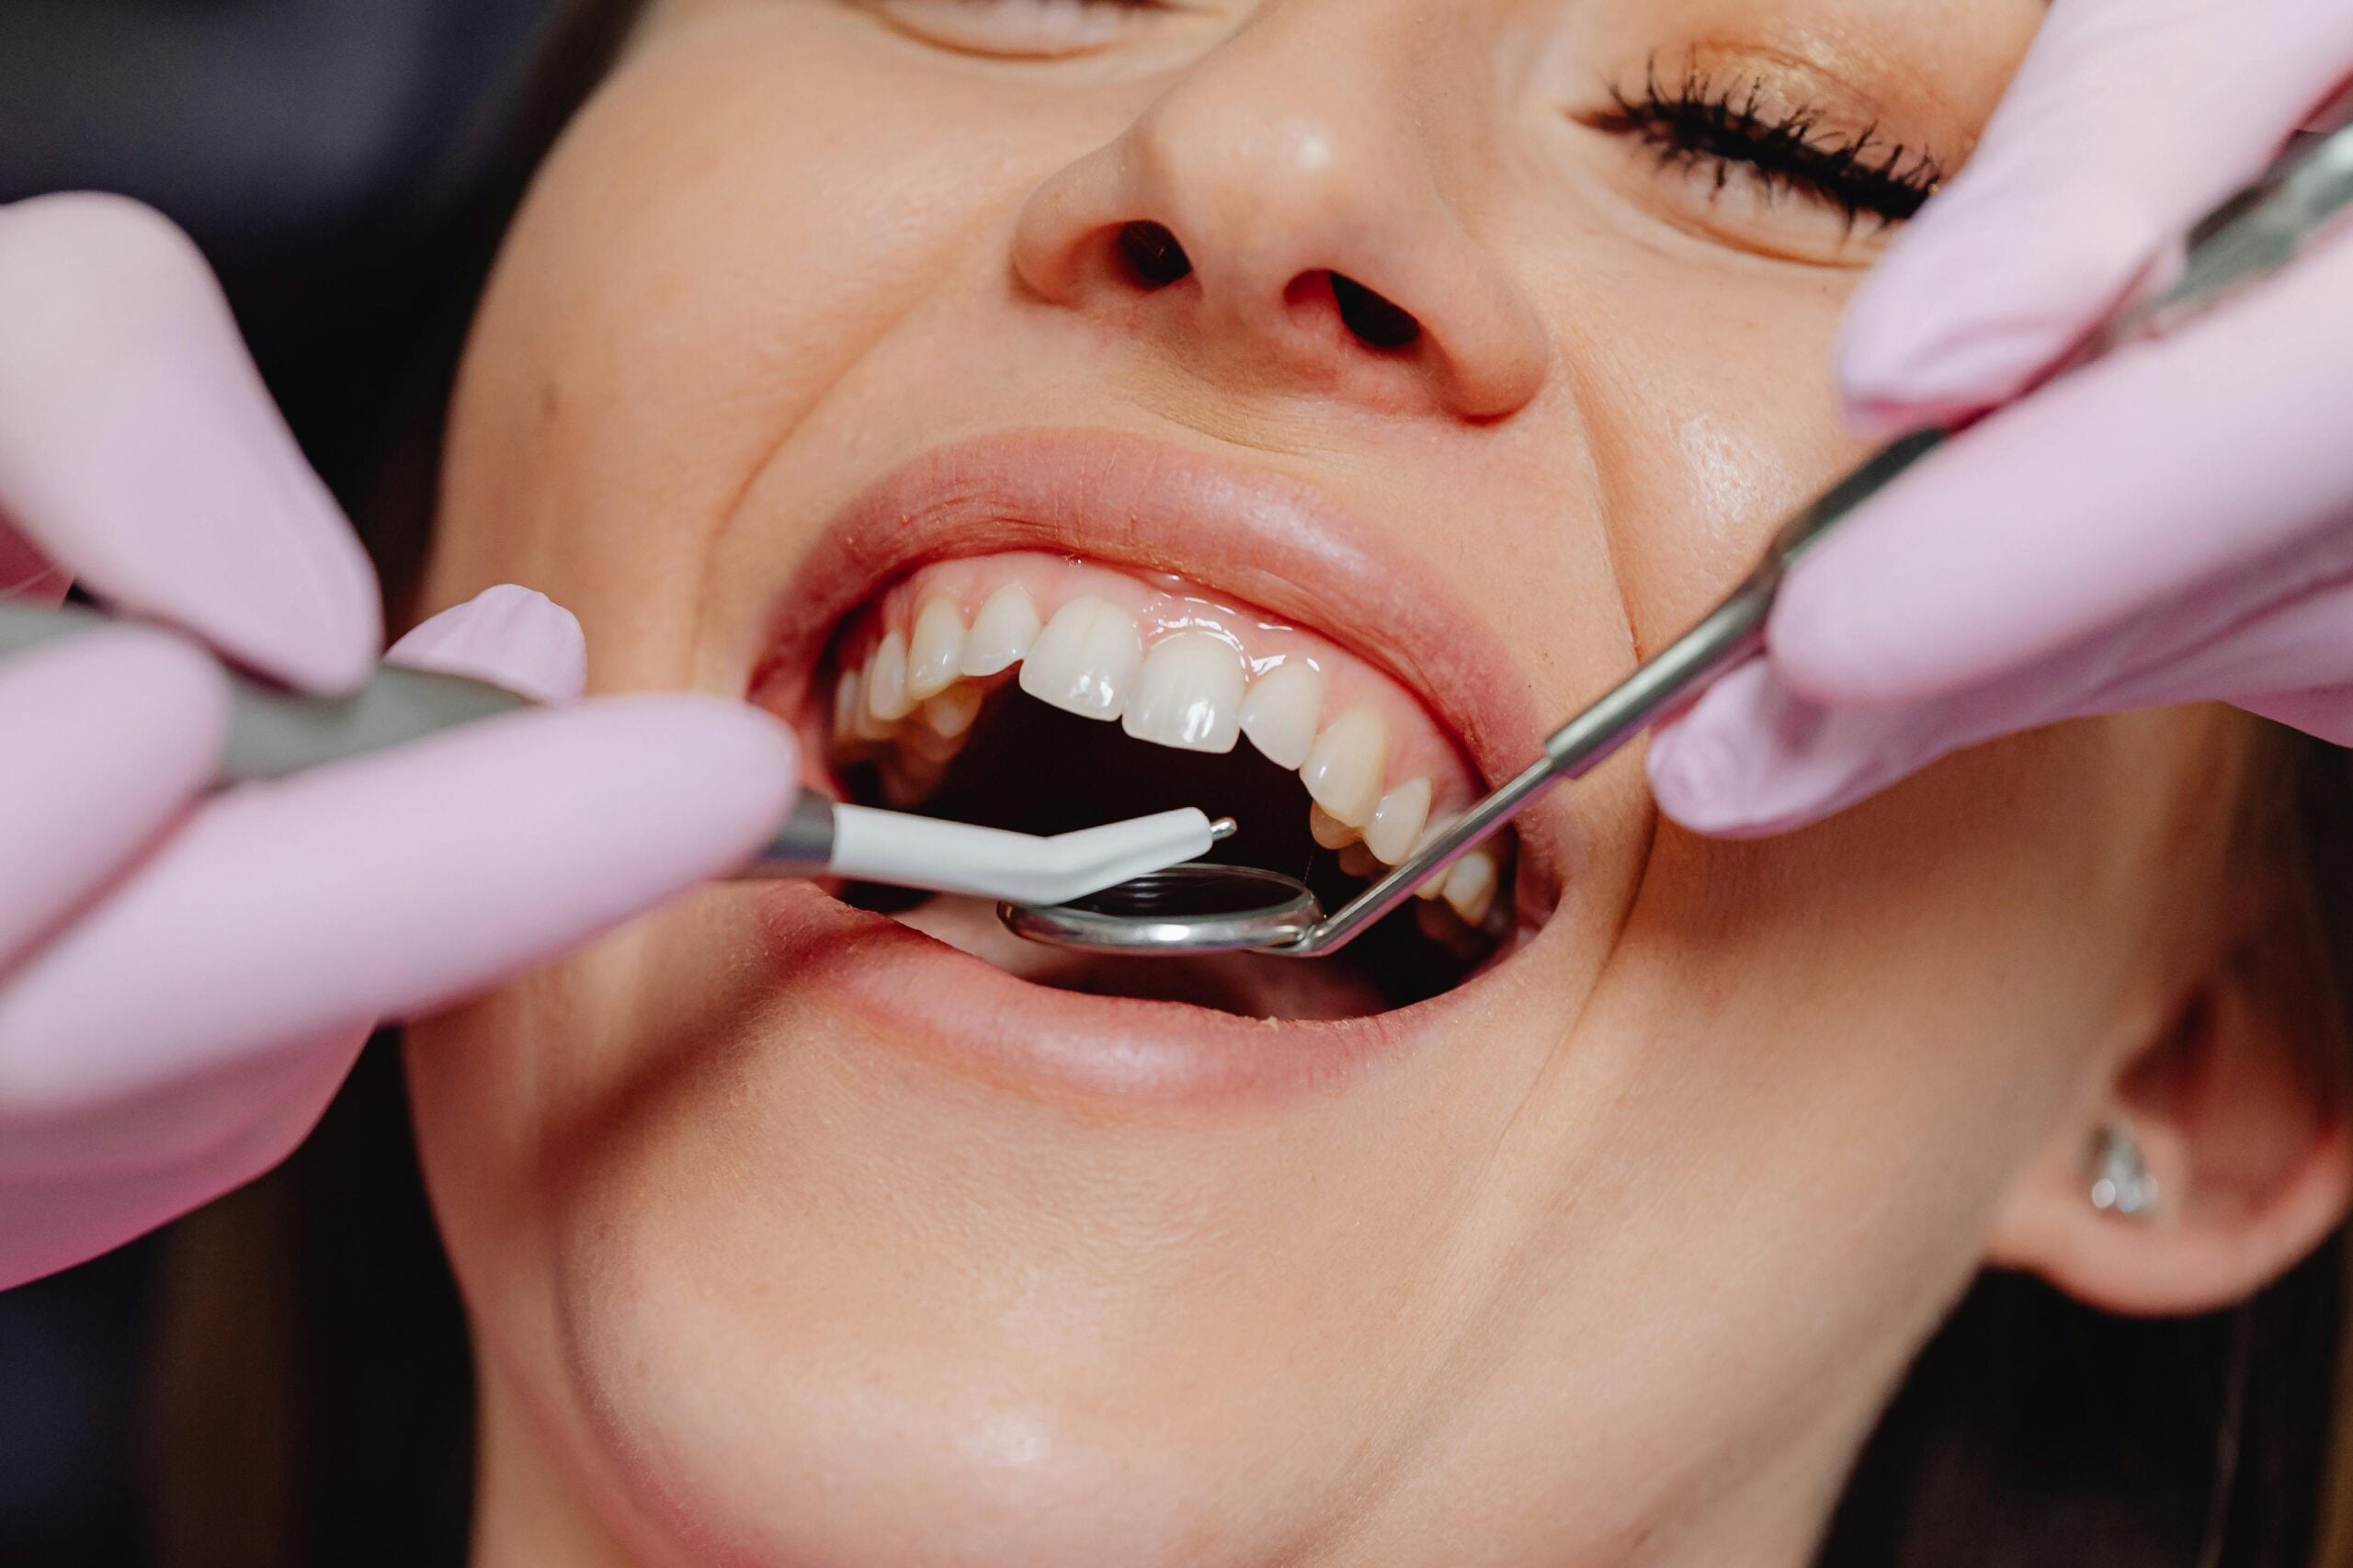
In my all-on-4 case planning workflow, we start with a comprehensive exam, 3D imaging, and digital records to confirm candidacy and map out implant positions. We review your goals, medical history, and bite to design a prosthesis that matches your facial features and chewing needs. On the treatment day, failing teeth may be removed, implants placed, and a carefully fabricated provisional bridge secured in many cases, followed by a healing period so bone and gums can adapt. After several follow-up visits, the final bridge is crafted for refined fit, function, and cleanability. Long-term success depends on diligent home hygiene and regular professional maintenance.
- After treatment, rest, keep your head elevated, and choose soft, cool foods.
- Use gentle saltwater rinses after the first day; avoid smoking and drinking through straws.
- Follow your provider’s medication and cleaning instructions; they take priority over general tips.
- If you notice increasing pain, persistent bleeding, or a loose temporary, contact the office promptly during business hours.
Step-by-Step Case Planning Approach
In every full-arch implant case, a predictable result comes from a disciplined sequence. Here is how I plan these cases from first conversation to final prosthesis. The goal is to align health findings, bone and bite realities, and your esthetic goals before we ever schedule surgery; it keeps surprises to a minimum. This all-on-4 case planning workflow favors clear checkpoints and shared decisions.
- Conversation and health review: medical history, medications, habits, photos, and baseline models or scans.
- Diagnostics: 3D imaging and bite records to understand bone, sinus anatomy, and jaw relationships.
- Smile and function design: mock-ups to preview tooth position, speech, and facial support.
- Virtual implant planning: prosthetic-first positioning to avoid anatomy and support the planned bite.
Guide and provisional planning: coordinate surgery guides and an immediate provisional set-up.
Procedure day: verify fit, place implants, and deliver a carefully adjusted provisional.
Healing and refinement: scheduled checks, hygiene coaching, and records for a precise definitive prosthesis.
At home, keep a current list of medications and questions for your visits, maintain gentle oral hygiene as previously instructed, and avoid trying to adjust any appliance on your own. If you notice increasing discomfort, looseness, or anything that worries you, please contact the office promptly during business hours so we can evaluate you in person.
Importance of Comprehensive Records
Comprehensive records are the backbone of a predictable All‑on‑4 outcome. They allow me to align anatomy, bite function, and esthetic goals so the surgical and prosthetic plans work together from day one. With complete information, we can anticipate challenges, reduce surprises on the day of surgery, and make safer decisions about anesthesia, medications, and immediate loading protocols.
- Medical and dental history, including medications and risk factors (e.g., diabetes, smoking, bruxism)
- CBCT imaging to assess bone volume, density, vital structures, and need for reduction or augmentation
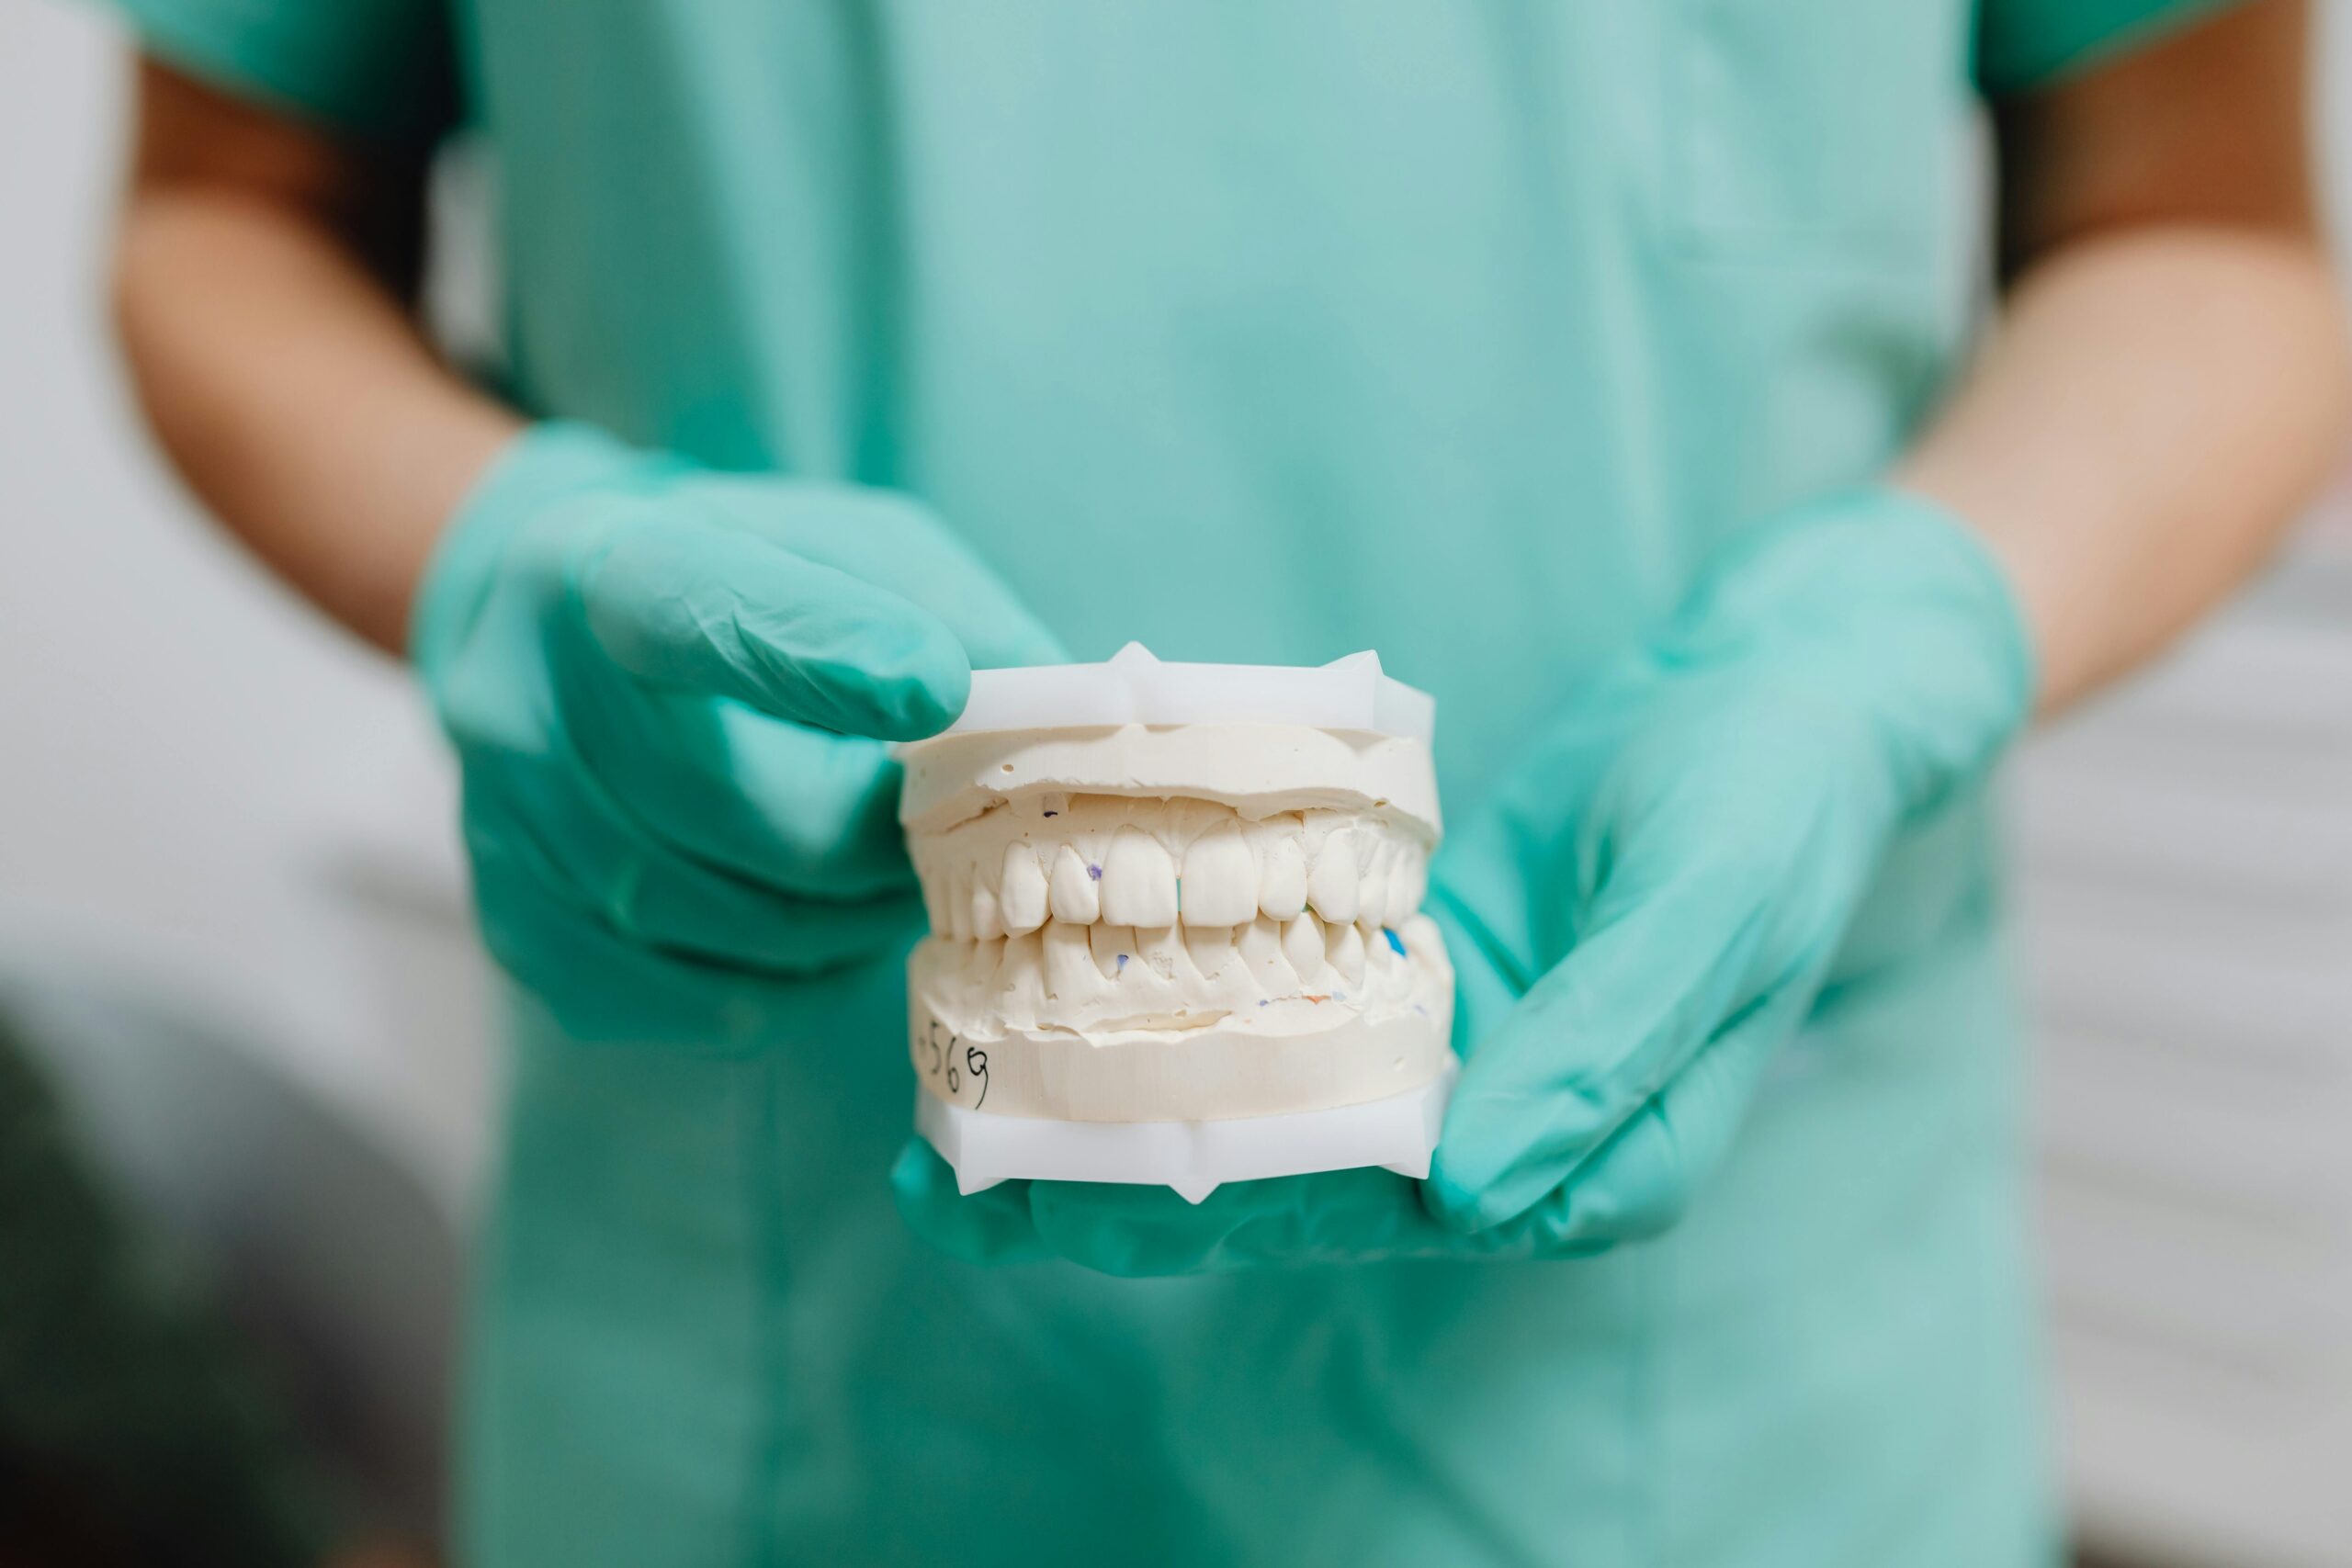
- Intraoral scans or impressions for accurate arch form and prosthetic planning
- Facial and intraoral photographs to evaluate smile line, midline, lip support, and esthetics
Bite records and occlusal analysis to establish vertical dimension and functional pathways
Periodontal and soft‑tissue evaluation, mobility charting, and assessment of existing prostheses
In my all-on-4 case planning workflow, these records guide implant positioning, angulation, and distribution, and they inform whether same‑day teeth are appropriate. They also help the surgical, restorative, and laboratory teams communicate clearly, reducing chair time and remakes. If you’re experiencing active pain, swelling, or a sore spot from a denture while we are gathering records, keep the area clean, avoid chewing on it, consider a warm saltwater rinse, and use over‑the‑counter pain relief as directed if appropriate; please contact our office during business hours so we can examine you promptly.
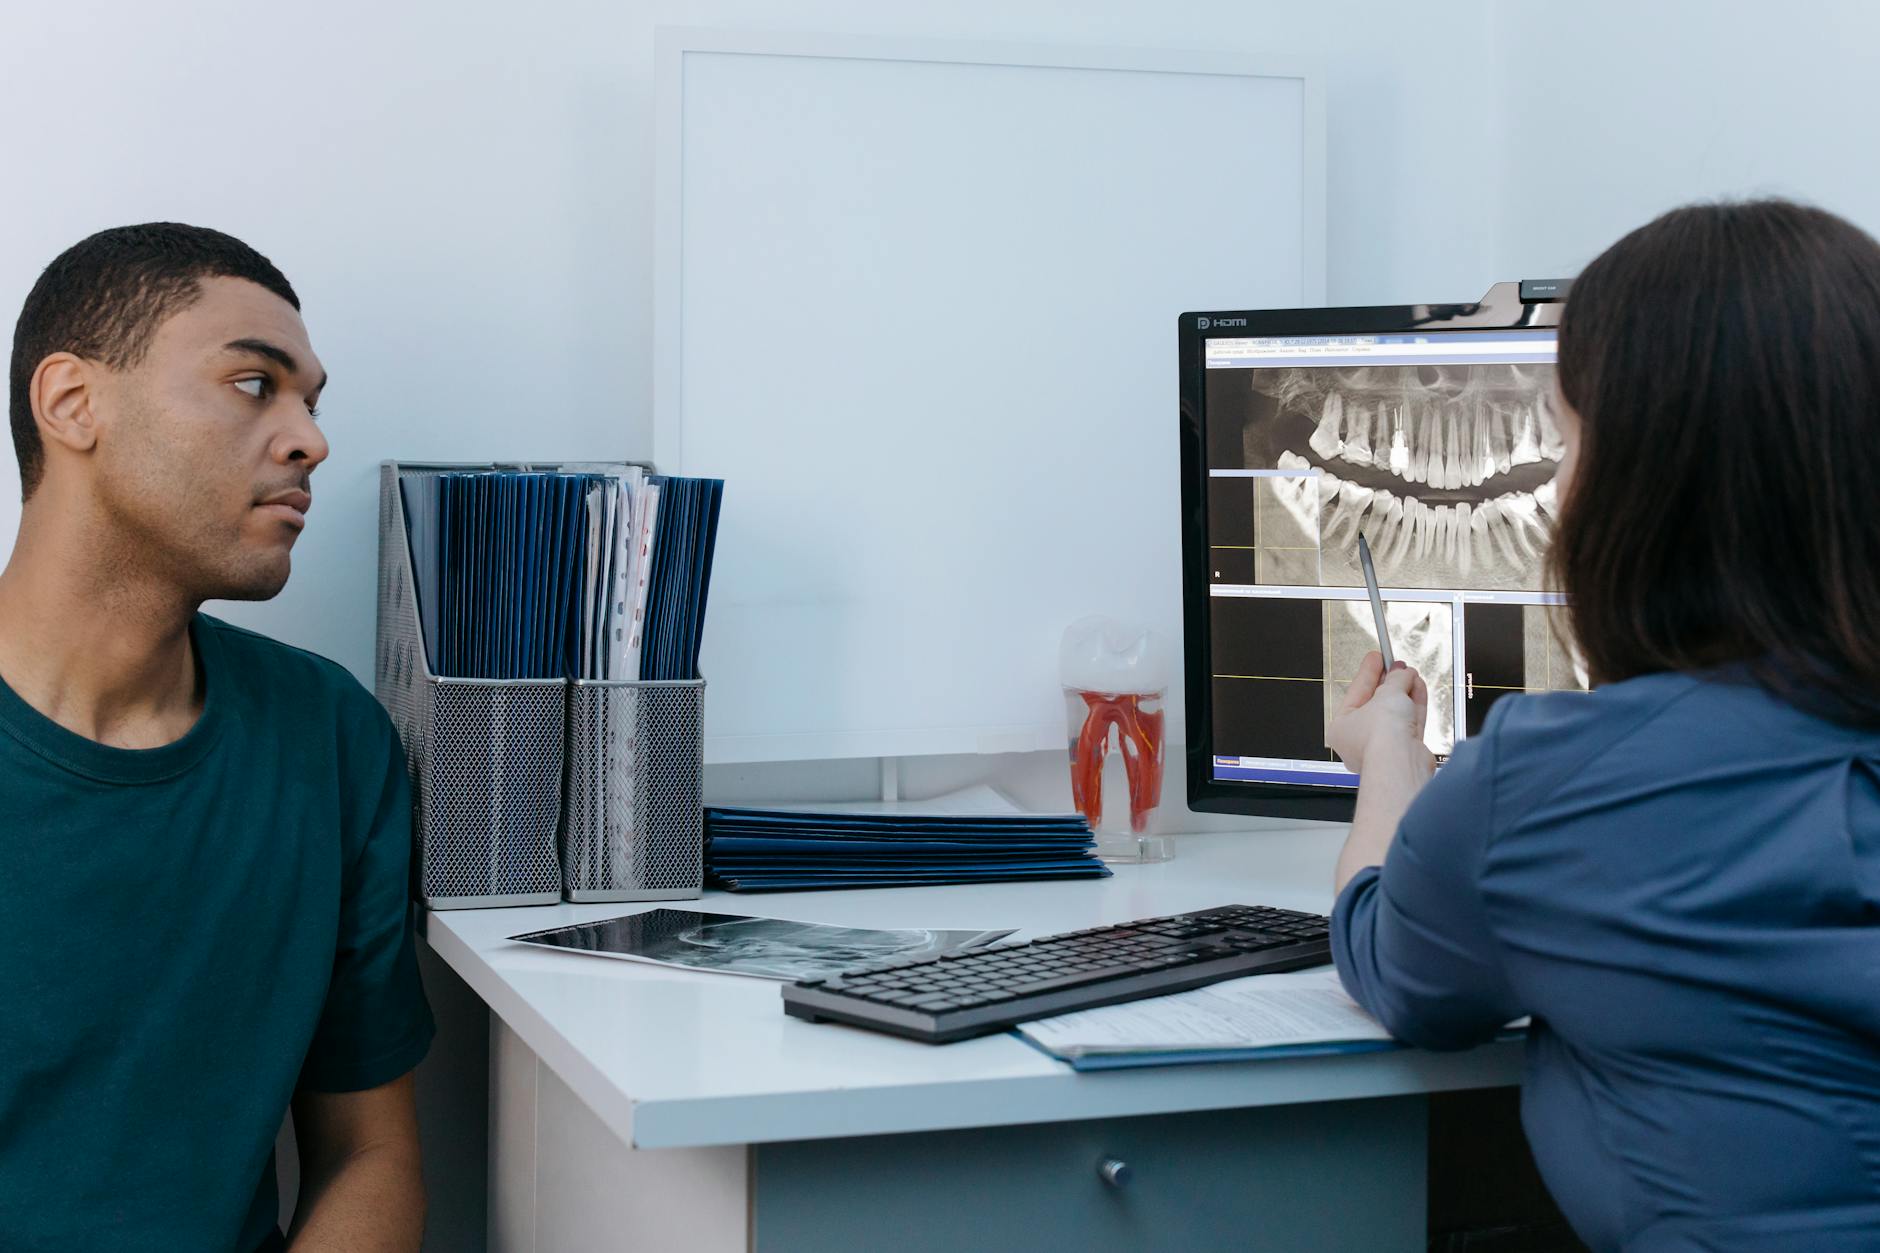
Utilizing CBCT for Accurate Diagnosis
Cone beam computed tomography (CBCT) provides a true 3D view of the jaws, allowing a more precise diagnosis than 2D images alone. In my all-on-4 case planning workflow, CBCT serves as the diagnostic backbone, mapping bone volume and quality while revealing nerve locations, sinuses, and any hidden pathology. I align this dataset with digital impressions and photos to confirm prosthetic space, smile line, and jaw relationships before recommending a pathway.
During review, I evaluate the scan systematically so the surgical plan supports the final teeth, not the other way around. Key points include:
- Bone height, width, density patterns, and ridge shape to anticipate implant angulation and need for contouring
- Precise location of the inferior alveolar nerve, mental foramen, and maxillary sinus to define safe zones
- Undercuts, cortical thickness, and anatomic limitations that influence implant distribution and torque goals
- Signs of infection, retained roots, or lesions that may change timing or staging
Prosthetic space and midline/occlusal plane so the tooth setup and lip support can be achieved
At home, simple preparation can help: bring a current medication list, prior imaging if available, and remove facial jewelry for the scan. If you notice swelling, pain, or a broken temporary, please contact the office promptly during business hours so we can assess you in person. CBCT is used judiciously to answer diagnostic questions while keeping radiation exposure as low as reasonably achievable.
Creating a PMMA Prototype
A PMMA prototype is a temporary full-arch bridge made from durable acrylic that lets us “test‑drive” your new smile and bite before fabricating the final prosthesis. I design it from your digital scans and records, then secure it to the implants to assess fit, comfort, speech, and appearance under real‑world function. This stage allows careful refinement so the definitive restoration reflects what works best for you.
In my all-on-4 case planning workflow, the PMMA prototype serves as a functional blueprint. After confirming a passive fit (often with an X‑ray) and carefully adjusting the bite, I evaluate phonetics, midline, smile display, lip support, and access for home hygiene. You may wear the prototype for a short period so we can gather real feedback on chewing comfort and gum response. Minor pressure areas, edge length, or tooth shape can be fine‑tuned at this visit. At home, keep to a soft diet at first, avoid very hard or sticky foods, and rinse gently with lukewarm salt water; use a soft brush around the gums as directed. If you notice sore spots, looseness, or a bite that feels “high,” contact the office during business hours so we can see you promptly. Once we are both happy with comfort, esthetics, and function, I translate those proven details into the final full‑arch restoration.
Zirconia Final Restoration Process
The zirconia final restoration process converts the healed implant foundation into a strong, esthetic full-arch bridge. After months of wearing a provisional that guides comfort, speech, and bite, we capture precise digital or analog impressions, jaw relations, and photographs, then design the framework with CAD/CAM. A printed or milled prototype is tried in to verify smile line, phonetics, hygiene access, and occlusion; any refinements flow directly into the definitive design. The final bridge is milled from high-strength zirconia, sintered, characterized, and bonded to titanium interfaces, then the passive fit is confirmed, screws are torqued, occlusion is fine‑tuned, and maintenance schedules are set—the culmination of my all-on-4 case planning workflow.
- Fit verification includes a one‑screw test and radiographs to confirm passivity before final torque.
- Occlusion and phonetics are refined so contacts are light in centric and smooth in excursions to protect the implants.
- Esthetics and hygiene access are reviewed; screw‑access channels are sealed, and home‑care tools are demonstrated.
- For the first few days, choose soft foods and lukewarm saltwater rinses if tissues feel tender; avoid very hard or sticky foods.
Clean gently twice daily with a soft brush; use floss threaders or a water flosser as instructed; never try to tighten anything yourself.
Please contact the office during business hours if you notice sore spots, chipping, unusual movement, or a bite that feels uneven.
Key Considerations During Planning
Planning an All-on-4 requires balancing anatomy, esthetics, function, and long-term maintenance. Before any surgery, I synthesize your health history, CBCT imaging, digital scans, and photos with your goals to map a prosthesis that works and is cleanable. We confirm whether immediate loading is appropriate, how implants can be distributed safely, and what the provisional and final restoration pathways will be—these guide my all-on-4 case planning workflow. While you’re preparing at home, it helps to keep any existing dentures clean, avoid self-adjustments, and contact the office during business hours if you notice sores, swelling, or a loose appliance.
- Systemic health and medications (diabetes control, anticoagulants, osteoporosis drugs) and smoking status—some situations may require coordination with your physician.
- Bone volume/quality and anatomic limits (sinus, nasal floor, mandibular nerve); decide if augmentation is advisable or if alternative anchorage is needed.
- Occlusion and vertical dimension, jaw relationships, and parafunction (grinding/clenching); plan protective strategies.
- Esthetics and speech: smile line, midline, lip support, tooth display, and phonetics.
Prosthetic space and hygiene access so the final is strong, retrievable, and cleanable.
Implant number, positions, and angulations to optimize spread and minimize cantilevers; aim for primary stability if immediate load is considered.
Provisionalization sequence, load protocol, and contingency plans if stability is insufficient on the day of surgery.
Maintenance roadmap: recall intervals, professional cleanings, and home-care tools you can comfortably use.
Collaborative Workflow with the Team
Delivering a full-arch, same-day solution depends on a tightly coordinated team. I bring the surgeon, restorative dentist, lab technician, and assistants into one plan from the start, aligning esthetics, bite, bone support, and timeline. Our all-on-4 case planning workflow includes shared diagnostics, digital simulations, and surgical guide checks so the prosthesis we design is the prosthesis we place. Clear roles, checklists, and real-time communication help us anticipate challenges rather than react to them.
- Keep an up-to-date list of medications, allergies, and medical conditions.
- Practice gentle oral hygiene as directed; keep any current denture clean; avoid DIY adjustments.
- Choose a soft, nutritious diet if we’ve advised it, and stay hydrated.
- Make note of unusual swelling, bleeding, loosening, or persistent discomfort.
Call our office during business hours for prompt, in-person evaluation if concerns arise.
Post-Procedure Care and Maintenance
After an All‑on‑4 procedure, care and maintenance focus on protecting the surgical sites, keeping your new teeth clean, and showing up for planned checks. These habits support comfortable healing now and the long‑term health of your implants. A thoughtful all-on-4 case planning workflow includes clear home‑care directions and timely in‑office reviews. If anything feels off, please call our office during business hours so we can see you promptly.
- Rest with your head elevated for the first 1–2 nights; use a cold compress 15 minutes on/15 minutes off for the first 24–48 hours to manage swelling.
- Choose soft, cool foods; avoid very hot liquids, hard or sticky foods, and do not use straws or smoke.
- Do not disturb the surgical areas; brush the prosthesis gently and avoid brushing directly over stitches on day one.
- Starting 24 hours after surgery, rinse gently with lukewarm salt water 2–3 times daily; avoid vigorous swishing or spitting.
Take only the medications your provider prescribed or approved, exactly as directed.
Limit strenuous activity for 48–72 hours to reduce bleeding and swelling.
Keep the prosthesis clean daily; once you’re cleared, use floss threaders or interdental brushes under it, and a water flosser on low if recommended.
Do not try to tighten, adjust, or remove anything yourself.
Keep all follow‑ups for bite checks, hygiene visits, and screw inspections.
Call our office during business hours if you notice worsening swelling after day three, bleeding that doesn’t slow with steady pressure, a bad taste or odor, sore spots, looseness or clicking, or chips and cracks.
Common Challenges and Solutions
Full-arch implant cases share a handful of predictable hurdles; the good news is they are solvable with a structured approach. The most frequent challenges involve bone availability, smile esthetics and lip support, restorative space, bite forces, and hygiene access. In my all-on-4 case planning workflow, I start with prosthetic goals, then use imaging and guided protocols to reverse-engineer surgical and restorative steps that address each issue before we ever pick up a handpiece.
- Limited posterior bone: increase anterior–posterior spread with thoughtful implant angulation and planned bone reduction to create restorative space.
- Esthetic lines (midline, cant, tooth display): use facially driven records, a digital wax-up, and a try-in prototype to preview and refine.
- Vertical dimension/restorative space: verify the bite and plan alveoloplasty when needed for strong, cleanable contours.
- Parafunction and occlusion: design a protective occlusal scheme and consider adjunct protection once healing is complete.
Hygiene and speech: contour the intaglio and embrasures for access, and coach individualized cleaning techniques while speech adapts.
If you notice mild tenderness or temporary irritation with a provisional, safe home steps include a soft diet, a cool compress for swelling, and gentle rinsing with lukewarm saltwater after meals. Avoid trying to tighten or adjust anything yourself, and use over-the-counter pain relievers only as directed unless your physician has told you otherwise. Any loosening, uneven bite, sore spots that persist, or bleeding that does not settle warrants prompt in-person evaluation during regular office hours.
Ensuring Patient Comfort Throughout
In my all-on-4 case planning workflow, comfort begins long before surgery. At the consult, we review your health, discuss goals, and map a step-by-step timeline so you know what to expect, how long each visit lasts, and what we’ll do to keep you comfortable, including local anesthesia and, when appropriate, light sedation. During try-ins and on the day your new teeth are placed, we make on-the-spot bite and fit adjustments so pressure points are relieved before you leave.
During and after treatment, I routinely check jaw joints, soft tissues, and how the bite comes together, then fine-tune as healing progresses. Comfort is dynamic, so we plan for minor tweaks as your gums settle and your bite stabilizes. You’ll have scheduled follow-ups and a clear way to reach us; if anything feels off, we prefer to see you promptly during business hours.
- Rest with your head elevated the first couple of nights; use a cold compress on the cheek in short intervals for the first 24 hours.
- Choose soft, cool foods; sip water often; avoid alcohol, smoking, and straws.
- Limit strenuous activity for 24–48 hours and listen to your body as you resume routines.
- Keep the mouth clean with gentle brushing of non-surgical areas and follow your written postoperative instructions for rinsing.
Use over-the-counter pain relievers only as directed on the label, unless your physician has advised otherwise.
Call our office during business hours if pain worsens, swelling increases after day two, you develop fever, or bleeding persists with light pressure.
Frequently Asked Questions
Here are quick answers to common questions people have about All-on-4 Case Planning: My Workflow in Glendale, AZ.
- What is the all-on-4 case planning workflow?
The all-on-4 case planning workflow involves a series of carefully structured steps to ensure a successful full-arch implant solution. It begins with an initial consultation and health review to establish patient goals and candidacy, followed by detailed diagnostics using 3D imaging. Smile and function design previews future outcomes, and a virtual implant plan aligns surgical goals with prosthetic needs. Careful planning and collaboration with the dental team ensure a seamless transition from surgery to final prosthesis.
- How does CBCT imaging contribute to all-on-4 planning?
CBCT imaging provides a detailed 3D perspective that is crucial for accurate all-on-4 planning. It shows bone volume, density, and vital anatomical structures like nerves and sinuses. This comprehensive data ensures the surgical plan can support the planned prosthesis, avoiding anatomical challenges, and helping to achieve the desired esthetic and functional outcomes. CBCT helps to minimize surprises during surgery by providing a clear roadmap for implant placement.
- What role does a PMMA prototype play in the all-on-4 workflow?
A PMMA prototype serves as a temporary full-arch bridge that allows both the dentist and patient to evaluate the fit, comfort, and esthetics of the new smile before the final restoration. It acts as a ‘test-drive’ for the all-on-4 prosthesis, offering insights into adjustments needed for speech, appearance, and hygiene access. Feedback gathered from wearing the prototype informs refinements in the final design for optimal function and comfort.
- What are key considerations during all-on-4 planning?
Key considerations during all-on-4 planning include analyzing the systemic health of the patient, understanding the anatomical details from the CBCT scan, and ensuring the planned prosthesis meets esthetic, functional, and cleanliness standards. The workflow also assesses immediate loading capability, correct implant distribution, and the provisionalization sequence, while also considering long-term maintenance requirements to ensure a successful outcome.
- Why is collaboration important in the all-on-4 workflow?
Collaboration is crucial in the all-on-4 workflow because it involves multiple dental professionals working together. The surgeon, restorative dentist, lab technician, and assistants must align on plans to ensure the prosthetic design matches surgical and esthetic goals. Shared diagnostics and seamless communication help anticipate challenges and deliver a successful outcome. By functioning as a coordinated team, everyone contributes to the efficient and accurate execution of the treatment.
- What are common post-procedure care steps for all-on-4 patients?
Post-procedure care for all-on-4 patients involves several key steps to ensure healing and maintenance of implants. Patients should rest with their head elevated, avoid rigorous activity, and choose soft, cool foods while avoiding hard or sticky substances. Gentle oral hygiene practices are essential, and patients should follow their dentist’s specific medication guidelines. Regular follow-up visits allow for monitoring and adjustment to secure long-term success of the treatment.
Medical sources (PubMed)
- Michelinakis G, et al. BMC Oral Health. 2021. “The direct digital workflow in fixed implant prosthodontics: a narrative review.”. PMID: 33478459 / DOI: 10.1186/s12903-021-01398-2
- Al-Nawas B, et al. Int J Implant Dent. 2023. “ITI consensus report on zygomatic implants: indications, evaluation of surgical techniques and long-term treatment outcomes.”. PMID: 37698775 / DOI: 10.1186/s40729-023-00489-9
- Schwarz F, et al. Periodontol 2000. 2022. “It is all about peri-implant tissue health.”. PMID: 35103327 / DOI: 10.1111/prd.12407
- Sanz-Sánchez I, et al. Periodontol 2000. 2022. “Complications in bone-grafting procedures: Classification and management.”. PMID: 35103322 / DOI: 10.1111/prd.12413
- Monje A, et al. Periodontol 2000. 2022. “Management and sequelae of dental implant removal.”. PMID: 35103326 / DOI: 10.1111/prd.12418
- Chackartchi T, et al. Periodontol 2000. 2019. “Soft tissue-related complications and management around dental implants.”. PMID: 31407443 / DOI: 10.1111/prd.12287