
Case Overview
This esthetic veneers case report summarizes a digital plan used to restore ten upper teeth with ceramic veneers. The patient presented with enamel wear, uneven edges, mild crowding, and color mismatch. We designed the smile virtually, confirmed it with a printed mock-up, then used minimal tooth shaping to place the veneers. The goal was natural brightness, improved symmetry, and stable function.
Imagine trying on a smile before any tooth is shaped. We began with photos, intraoral scans, and a face-referenced design to set tooth length and midline to facial features. A 3D-printed mock-up created a “trial smile,” allowing adjustments to shape and length at the chair. Once approved, the mock-up guided minimal preparation. We selected strong, translucent ceramic and bonded with adhesive protocols that protect enamel where possible. For readers who want a broader background on indications and steps, see our porcelain veneers treatment details.
Function was planned with the esthetics. We restored proper incisal edge position and used canine guidance to reduce wear on front teeth. The bite was checked in light chewing and speaking, then refined for even contacts. A protective night appliance was discussed for clenching habits. Maintenance includes gentle brushing, flossing, and routine checks to polish margins and monitor gum health. In some cases, short pre-alignment with clear aligner therapy using Invisalign can reduce enamel removal by correcting mild rotations first.
The result aimed to match tooth form to the patient’s lip line and face, not just a shade tab. Digital planning helped set clear targets, while the mock-up ensured the plan felt right in daily life. Next, we will outline the step-by-step workflow, from design to bonding. Careful planning leads to predictable veneer outcomes.
Initial Presentation
The patient arrived seeking a brighter, more even smile and longer front teeth without looking “done.” They reported no tooth pain, but noticed chipping and uneven edges in photos. Gums felt healthy, and the goal was a conservative plan that preserved enamel. In this esthetic veneers case report, the initial exam focused on health, risk, and esthetic baselines.
At the mirror, the patient pointed to uneven front edges. We reviewed medical and dental history, then screened for grinding, acid exposure, and dry mouth, since these affect veneer longevity. A periodontal exam assessed gum health and biotype, and radiographs confirmed bone levels and absence of hidden decay. Each tooth was vitality tested and checked for cracks; if any tooth had required prior nerve therapy, we would coordinate necessary endodontic treatment before veneer planning. Bite records documented contact patterns in chewing and speaking to identify any risk of new chipping.
- Tooth display: measured at rest and full smile to set ideal length.
- Lip dynamics: smile line, incisal edge show, and midline relation to the face.
- Enamel condition: localized edge wear and surface texture variation.
- Existing work: small composite fillings, intact margins, no recurrent decay.
- Gums: healthy tissue, scalloped architecture, medium biotype, minimal bleeding.
- Occlusion: light anterior contact at rest, slide noted on protrusion without mobility.
- Vitality: normal cold response, no periapical findings on radiographs.
These findings guided the digital photo and scan records. Lip and tooth display set the target incisal length, while phonetic checks for “F” and “S” sounds refined edge position. Shade mapping captured value and translucency in different zones, so the ceramics would blend with adjacent teeth. Gingival symmetry and papilla height were documented to avoid black triangles. Baseline photographs created a reference to judge the mock-up against real life.
With health confirmed and measurements recorded, we were ready to translate goals into a face-referenced digital design and printed try-in. For very small chips or single-tooth shape tweaks, conservative dental bonding was discussed as an alternative in selected areas. Next, we move from records to the virtual smile plan.
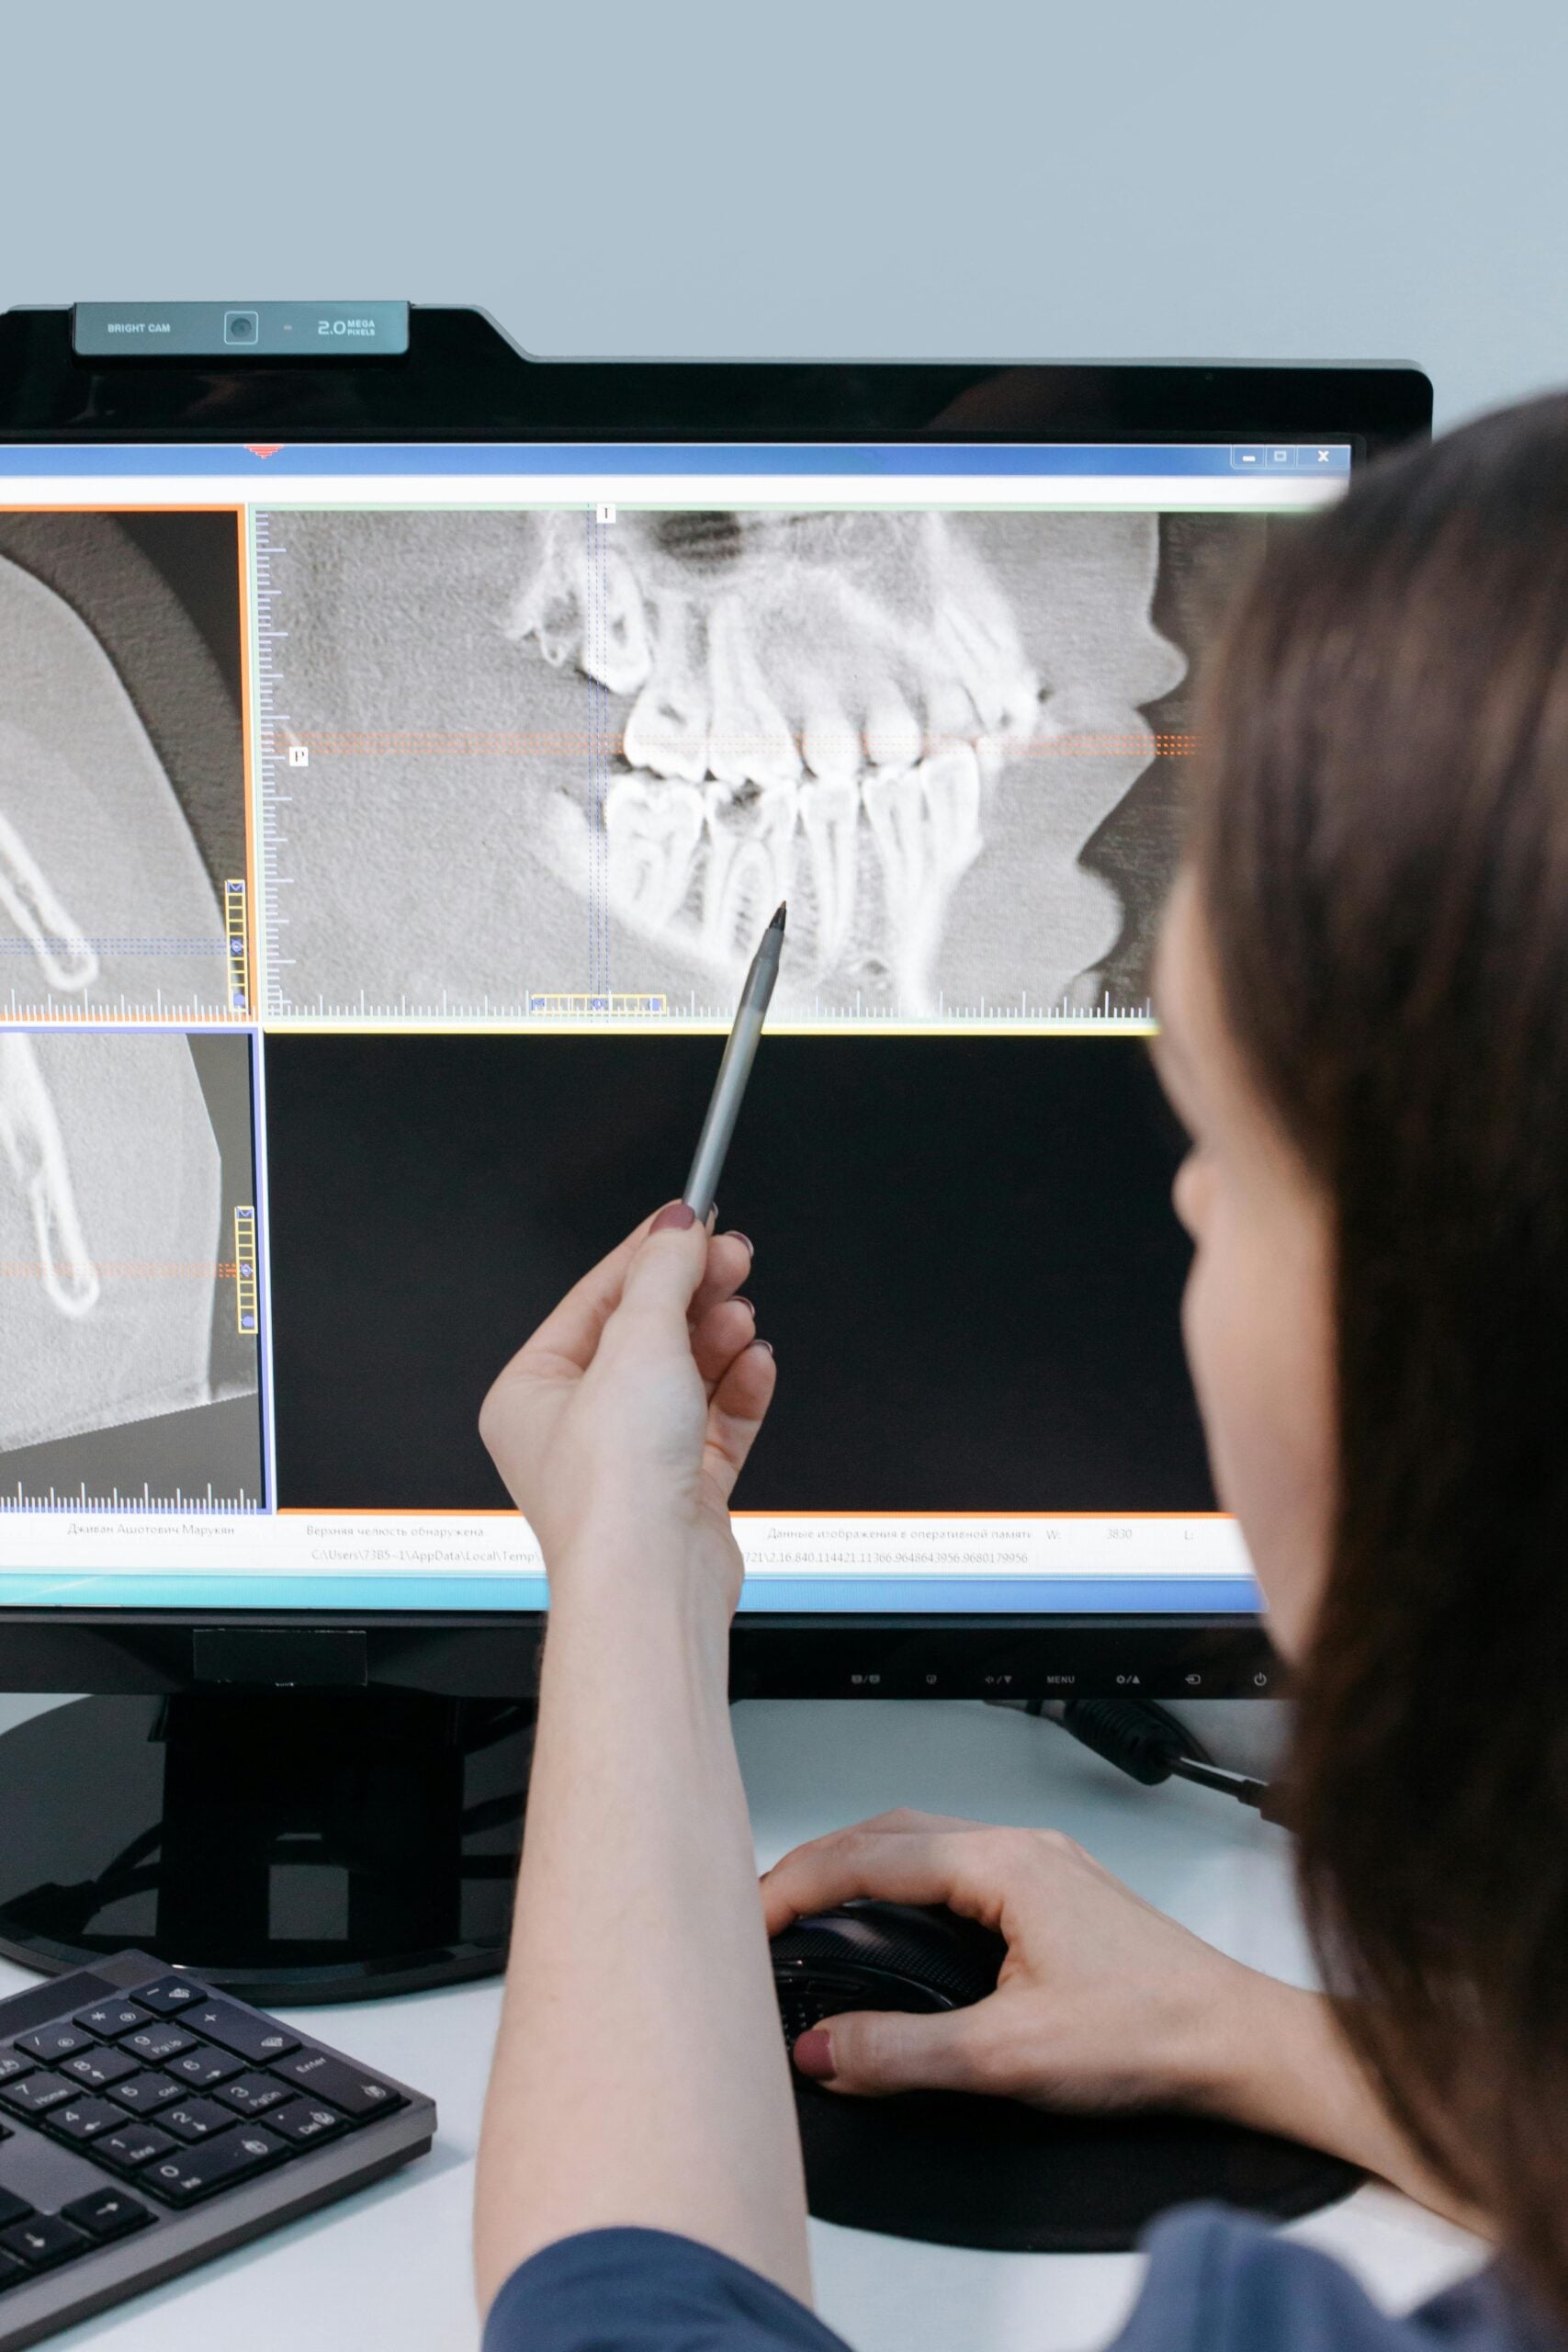
Diagnostic Workup
The diagnostic workup creates a clear map for safe, natural-looking veneers. It confirms oral health, studies how the bite functions, and defines esthetic goals that match the face. We preview these choices in a virtual plan before any tooth shaping. In this esthetic veneers case report, the workup guided every design decision.
Real-world moment: we first check which teeth show when you talk and smile. We record how the jaw closes and slides so front teeth share light contacts, and canines guide side movement. A face-referenced record sets the midline and the angle of the front teeth to lips and eyes. Simple speech checks refine edge length so “F” and “S” sounds feel natural. If a tooth shows a deep crack or very large filling, we discuss whether that site needs reinforcement with a full-coverage option rather than a thin veneer, which may lead to a more suitable plan like custom crowns or bridges.
We also plan the color. Cross-checked shade photos capture value and translucency from edge to gum, and we map any natural character we want to keep. If a brighter overall smile is desired, we may lighten unveneered teeth first so the ceramics can match a stable, lighter baseline; patients often choose professional in-office teeth whitening before final shade selection. Surface texture and luster are noted to keep a natural look under different lighting. These steps help the ceramics blend with the rest of the mouth.
Gum health and margin planning come next. We verify tissue thickness and smile height, then choose margin positions that hide edges while preserving enamel. When minor tissue leveling would improve symmetry, we plan it conservatively and only where it adds value. With risks addressed and targets defined, we lock the measurements into the digital plan and prepare for a controlled mock try-in. This careful start makes the treatment smoother and more predictable.
Treatment Plan
The treatment plan set a clear path to place ten upper ceramic veneers with precision and minimal enamel removal. We used a face-referenced digital design, printed a mock-up to test in the mouth, and refined shapes and lengths with the patient. Once approved, the mock-up guided conservative tooth shaping, followed by adhesive bonding and a careful bite check. This plan aimed for natural brightness, symmetry, and comfortable function.
First, we aligned esthetics with function in the virtual design, then confirmed it in a real try-in. The patient evaluated edge position, smile curve, and speech during normal conversation. The patient read a few lines aloud to confirm “F” and “S” sounds. Small chairside adjustments to the mock-up refined tooth proportions and midline. With the design locked, we scheduled a focused preparation and provisional visit.
At that visit, a silicone index from the mock-up guided minimal enamel reduction only where needed for material thickness. Tissue health was protected with retraction techniques that expose margins without trauma, and we avoided subgingival edges where possible. Provisional restorations copied the approved design so the patient’s daily feedback could confirm comfort and esthetics. Detailed photographs, shade mapping, and scans were sent to the lab to build translucent ceramics that blend with neighboring teeth.
On delivery day, each veneer was tried in individually and as a group to verify fit, contacts, and color in natural and operatory light. We isolated the field, cleaned enamel, and followed adhesive steps for strong bonding, then removed excess cement and polished margins. The bite was refined for even contact in closure, smooth guidance on canines, and no heavy rub on front teeth in speech. For patients who feel anxious during longer visits, we discuss options like gentle oral sedation to make care more comfortable.
After placement, we reviewed home care, scheduled follow-ups to check tissue response, and recommended a night appliance for clenching risk. In this esthetic veneers case report, the plan balanced beauty, structure, and bite so the result looks natural and lasts. Next, we outline the preparation and mock-up steps in detail.
Digital Smile Design Process
Digital Smile Design uses photos and scans aligned to the face to plan tooth shape, length, and position before any drilling. We build a 2D smile on calibrated images, convert it to a 3D mock-up, and test it in the mouth. Feedback from speech, lip support, and bite guides refinements. In this esthetic veneers case report, the process created clear targets and a conservative path.
Picture seeing your proposed smile in your mouth during a normal conversation. We start by capturing standardized photos, intraoral scans, and a face-referenced record so teeth relate to eyes, lips, and the midline. The design is drawn on calibrated images using simple reference lines for symmetry and the smile curve. Tooth proportions are balanced to the face, not just a template. This step sets the esthetic blueprint in plain view for the patient and the lab.
Next, the 2D plan becomes a 3D design that we print as a thin mock-up shell. The patient “test drives” the smile, checking edge length in speech and lip fullness at rest and smile. We observe how the bite closes and slides so contacts stay light and even. Small chairside adjustments refine contour and length, then we rescan the refined mock-up. This loop repeats until the patient and clinician both approve.
The approved mock-up then guides precise, minimal tooth shaping. Printed reduction guides show exactly where space is needed for ceramic thickness, helping preserve enamel. Provisional veneers copy the final design so the patient can live with it for comfort checks. Detailed photos, shade maps, and the scan are sent to the lab to build translucent ceramics that match value and texture. At delivery, the digital plan helps verify fit and contacts efficiently, then bonding and bite refinement complete the visit.
For patients, this process reduces guesswork and supports a natural look that fits the face. It also protects healthy tooth structure by planning first, then preparing only as needed. Next, we move from this finalized digital plan to the guided preparation and mock-up steps. Careful planning leads to predictable veneer outcomes.
Whitening Protocol and Timing
We whiten before final shade selection, then wait for color to stabilize before bonding. For veneer cases, we lighten the teeth that will remain unveneered so the ceramics can match a steady, brighter baseline. After whitening, we pause 1 to 2 weeks to let shade rebound and to avoid any effect of residual peroxide on bonding. This timing helps the veneers blend and adhere well.
Real-world moment: a patient asks, should we whiten before choosing the veneer color? Yes, because whitening can shift the baseline shade, and that change needs to settle. Immediately after bleaching, enamel looks lighter from dehydration, and oxygen byproducts may linger in the tooth. A short waiting period lets the true shade return and supports reliable adhesive steps. If sensitivity occurs, we reduce session length, space treatments every other day, and use gentle desensitizing toothpaste.
In this esthetic veneers case report, our plan was simple and clear. We whitened the lower teeth and unveneered upper premolars first, using a controlled protocol tailored to the patient’s goals and sensitivity. We reviewed shade at one week, then allowed at least another 7 to 10 days before taking final photos and selecting ceramic value. If the patient desired a lighter look, we extended whitening in short, well-tolerated sessions, then restarted the clock for stabilization. Final shades were confirmed on two separate days to ensure consistency under different lighting.
Some stains, like deep internal discoloration, may not fully respond to whitening. In those cases, veneers set the final color while nearby natural teeth are lightened to harmonize. We avoid whitening on areas of exposed root, and we adjust the plan if there are cracks or thin enamel. This measured approach keeps bonding predictable and helps the finished smile look balanced across all teeth.
With shade stable and goals confirmed, we move to veneer try-in, bonding, and precise bite refinement. A short pause after whitening makes the results more predictable.
Minimal-Prep Veneer Technique
The minimal-prep veneer technique removes only a thin amount of enamel, just where space is needed for ceramic. We use the approved mock-up as a guide, so shaping is highly controlled and focused. By preserving enamel, we support strong bonding and natural-looking edges. The goal is a precise fit with maximum tooth preservation.
Real-world moment: picture removing a contact-lens thickness only where ceramic needs room. Because the plan is additive, many areas need no drilling at all. Where alignment, thickness, or edge position require space, we use printed reduction guides and light depth marks to shape enamel evenly. Margins are kept in enamel and, when possible, above the gumline for healthier tissue and easier cleaning.
Bonding to enamel is reliable, which is a key reason we limit reduction. A recent systematic review comparing conventional and minimally invasive veneers reports favorable survival for minimally invasive approaches, especially when enamel bonding is maximized [1]. This approach also helps maintain natural translucency at the edge, since thin ceramics blend best over intact enamel. The result is a smoother, more lifelike finish that resists staining at the margins.
Clinical steps are efficient and gentle. We isolate, retract the tissue with cord or paste, and refine only the marked spots. Sharp corners are rounded so ceramics distribute force well. If small areas of dentin appear, they are sealed immediately, but the design aims to keep preparation in enamel. Provisional veneers copy the approved shapes, letting the patient confirm comfort and speech while the lab builds the final ceramics. Because the design guided preparation, final adjustments at delivery are light, and the bite refines quickly.
For patients, this means less drilling, less sensitivity, and easier future maintenance or repair. In this esthetic veneers case report, minimal prep supported predictable bonding, natural edges, and stable function. Next, we move from guided shaping to try-in, final bonding, and precise bite checks. Preserve enamel whenever possible.
Procedure Highlights
Here are the key steps that brought this smile to life. We began with a face-referenced digital design, verified it in a printed mock-up, then performed minimal enamel shaping guided by that mock-up. Each veneer was tried in, bonded under isolation, and the bite was refined for comfort. The sequence protected tooth structure and supported a natural look.
Real-world moment: the patient read a few lines aloud while wearing the mock-up. This confirmed edge length for speech and lip support at rest and smile. We also checked light, even contacts when closing, and planned canine guidance to share side movements. These checks created a clear target before any tooth was shaped, which reduced surprises later.
Conservative preparation followed a simple rule, create space only where ceramic needs it. Printed reduction guides and shallow depth marks focused shaping to tenths of a millimeter. Margins stayed in enamel and, when possible, above the gumline for healthier tissue and easy cleaning. If a small area of dentin appeared, it was sealed immediately to maintain comfort and support bonding. Provisional veneers copied the approved design so the patient could confirm esthetics and function in daily life.
At delivery, each veneer was tried in individually and as a group to verify fit, contacts, and shade in operatory and natural light. After isolation, enamel was cleaned and etched, the ceramic was prepared, and a thin resin cement was used for bonding. We removed excess, protected margins from the oxygen-inhibited layer, and polished for a smooth finish. The bite was refined for even closure, smooth protrusion, and canine guidance, then rechecked during light speech. Small adjustments at this stage improve comfort and reduce future wear.
After bonding, we reviewed home care, scheduled follow-ups to monitor tissue response, and recommended a protective night appliance for clenching risk. In this esthetic veneers case report, these highlights show a plan-first, enamel-preserving approach that streamlines delivery and supports longevity. Next, we detail the try-in sequence and final bonding steps so readers can see the workflow up close. Plan first, prepare only where needed.
Patient Reaction and Feedback
The patient described the new smile as brighter, natural, and comfortable to speak with. Sensitivity was minimal and faded quickly. They noticed edges looked even in photos, and chewing felt smooth without sharp spots. Overall, the veneers blended with nearby teeth and lips in daily settings.
We gathered feedback at three points, mock-up, provisional phase, and final delivery. Real-world moment: the patient checked shade in car selfies under daylight. During the mock-up, they read aloud and counted to test “F” and “S” sounds, then smiled at rest to review lip support. These comments set the targets we carried into the provisionals, where shape and edge length were lived with for a few days before lab fabrication.
After bonding, the patient compared before-and-after photos and mirrors in different light. Color and texture felt lifelike, and the midline matched facial features. Bite feedback focused on small areas of early contact; we refined these until closure felt even and side movements were guided by the canines. Speech felt natural the same day, and floss passed smoothly at the margins, which reassured the patient about home care. Gingival tissue remained calm at the one-week check, so no margin polishing beyond routine finishing was needed.
Functionally, the patient reported no catching on lower teeth during light chewing. We provided a protective night appliance, and the patient confirmed comfortable wear after brief adjustment. In this esthetic veneers case report, patient feedback shaped final polish, slight edge rounding on two incisors, and a tiny contact adjustment between the lateral and canine. These small refinements improved comfort without changing the approved design.
For readers considering veneers, this feedback loop shows how real-life use guides small, meaningful tweaks that make the result feel like your own smile. Next, we outline the try-in checkpoints and bonding sequence that help lock in these details. Patient voice guides a natural, comfortable result.
Outcome & Follow-Up
The veneers delivered a natural, brighter smile with balanced edges, clear speech, and even bite contacts. Gums stayed calm, margins were smooth to floss, and sensitivity was minimal and short-lived. Follow-up included checks at one week, four to six weeks, six months, then routine yearly visits. In this esthetic veneers case report, the outcome matched the digital plan and felt comfortable in daily life.
Real-world moment: we rechecked shade in daylight at the one-week visit. Early follow-up matters because tissues settle and the bite can shift slightly as the patient adapts. We refined tiny high spots, verified canine guidance, and polished any micro-roughness so plaque does not collect. Photos and shade references were updated to track color stability and surface luster over time.
Home care focused on gentle technique that protects ceramics and gums. We recommended a soft brush, nonabrasive paste, and daily flossing, guiding the floss out through the side to avoid snapping on the edges. Patients who clench received a custom night appliance to spread forces and protect the incisal edges. If a small chip occurs, we prefer selective smoothing or a tiny bonded repair. If a veneer ever loosens, we evaluate the adhesive surface, clean, and rebond when appropriate, keeping full replacement as a last resort.
Visit timing supports long-term health and esthetics. At one week, we confirm tissue response and speech. At the four to six week visit, we reassess function under normal chewing and adjust if needed. Six-month and yearly visits include margin polish, bite checks, and photos for comparison. To plan around your schedule, you can review our current hours before your maintenance visit.
For patients, expect a smooth adjustment period, small refinements that improve comfort, and simple care that keeps the smile stable. Next, we share practical takeaways that helped this result stay natural and predictable. Small follow-ups protect long-term success.
Long-Term Maintenance of Veneers
Long-term maintenance focuses on clean gums, smooth margins, and controlled bite forces. Gentle brushing with a soft brush, daily flossing, and routine professional checks help veneers look natural and last. A custom night appliance is often advised if you clench or grind.
Real-world moment: a patient asks how to keep veneers looking new five years from now. Think prevention first. Clean teeth and calm gums reduce stain at the edges, and regular visits let us polish ceramic and remove plaque without scratching. In this esthetic veneers case report, we also photographed and recorded shade after delivery so future cleanings can match the original luster. During visits, we use nonabrasive pastes and fine polishing tools, then check each margin for early wear or cement line roughness so small issues are handled before they spread.
Forces matter as much as hygiene. Even contacts in closure and smooth canine guidance protect thin ceramic edges, while a night appliance spreads heavy forces during sleep. Avoid chewing ice, pens, or hard pits, and do not use teeth to open packages. If a tiny chip or edge roughness appears, selective smoothing or a small bonded repair usually restores comfort and gloss without replacing the veneer. A consensus statement reports high survival for ceramic laminate veneers and notes that most complications are chipping, debonding, or marginal changes that are manageable with planned maintenance. [2]
Daily habits help. Rinse after acidic drinks, wait a short time before brushing, and choose nonabrasive toothpaste to protect the glaze. Wear a sports mouthguard during contact activities. At checkups, we recheck the bite, polish margins, and update photos to track color and texture over time. These simple steps keep the smile stable and natural.
Frequently Asked Questions
Here are quick answers to common questions people have about Case Report: Ten Veneers, Digital Plan in Glendale, AZ.
- What are the benefits of using digital smile design for veneers?
Digital Smile Design helps create a tailored esthetic plan before any drilling begins. Dentists use calibrated images and scans aligned to your facial features to virtually build your smile. This process sets clear visual targets and allows you to preview the proposed changes in your mouth. Through this method, adjustments can be made for speech, lip support, and bite alignment, ensuring a result that feels natural and functions comfortably in daily life.
- How does minimal-prep veneer technique conserve tooth structure?
The minimal-prep veneer technique focuses on preserving as much of your natural tooth as possible. It involves removing only a thin layer of enamel where space is necessary for the veneer, often compared to the thickness of a contact lens. By bonding directly to the enamel, it ensures both a strong bond and a natural appearance. This technique helps maintain the natural translucency of your teeth and results in a more lifelike smile.
- What should be considered before choosing veneer color?
Choosing the right veneer color is crucial for achieving a natural look. Whitening any unveneered teeth beforehand can help ensure that the veneers match a bright and stable baseline. It’s important to wait 1 to 2 weeks after whitening for the color to stabilize, which ensures accurate adhesive procedures and a consistent final appearance. This process helps veneers to blend seamlessly with surrounding teeth in various lighting conditions.
- How do veneers affect daily oral hygiene?
Veneers require maintenance similar to natural teeth. Maintaining clean gums and smooth margins is essential. Use a soft-bristled toothbrush and nonabrasive toothpaste. Flossing daily is important, but floss gently to avoid damaging the veneers. Regular dental check-ups will help ensure that your veneers remain in good shape by allowing for professional cleaning and early intervention of any minor issues before they escalate.
- Why might a protective night appliance be recommended after veneers?
A protective night appliance, or night guard, is often recommended if you tend to clench or grind your teeth. It helps distribute the bite forces evenly and reduces the risk of damaging your veneers while asleep. Clenching or grinding can put stress on veneers, leading to chipping or loosening. Wearing a night guard can help prolong the lifespan of your veneers, ensuring your smile stays bright and intact.
References
- [1] Conventional Versus Minimally Invasive Veneers: A Systematic Review. (2023) — PubMed:37799216 / DOI: 10.7759/cureus.44638
- [2] Survival and Complication Rates of Ceramic Partial Coverage Restorations (PCRs) and Ceramic Laminate Veneers Made of Different Types of Ceramics. Consensus Statement From SSRD, SEPES, and PROSEC Conference on Minimally Invasive Restorations. (2025) — PubMed:40245384 / DOI: 10.1111/jerd.13418